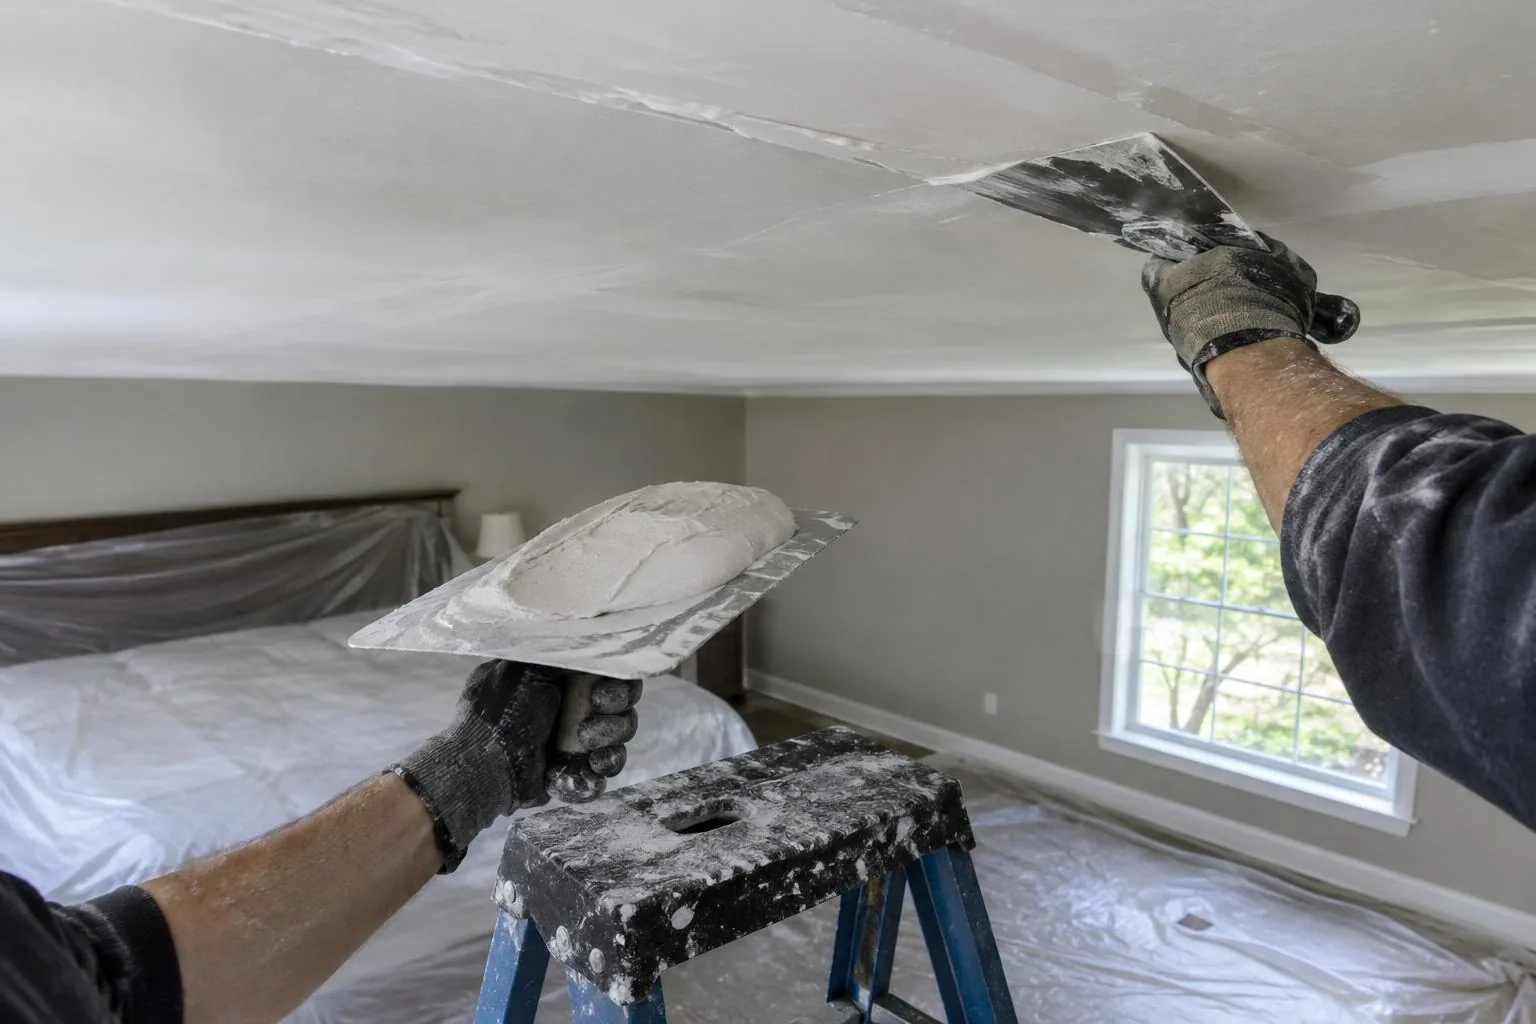
What a Ceiling Skim Coat Involves in Hampton, VA
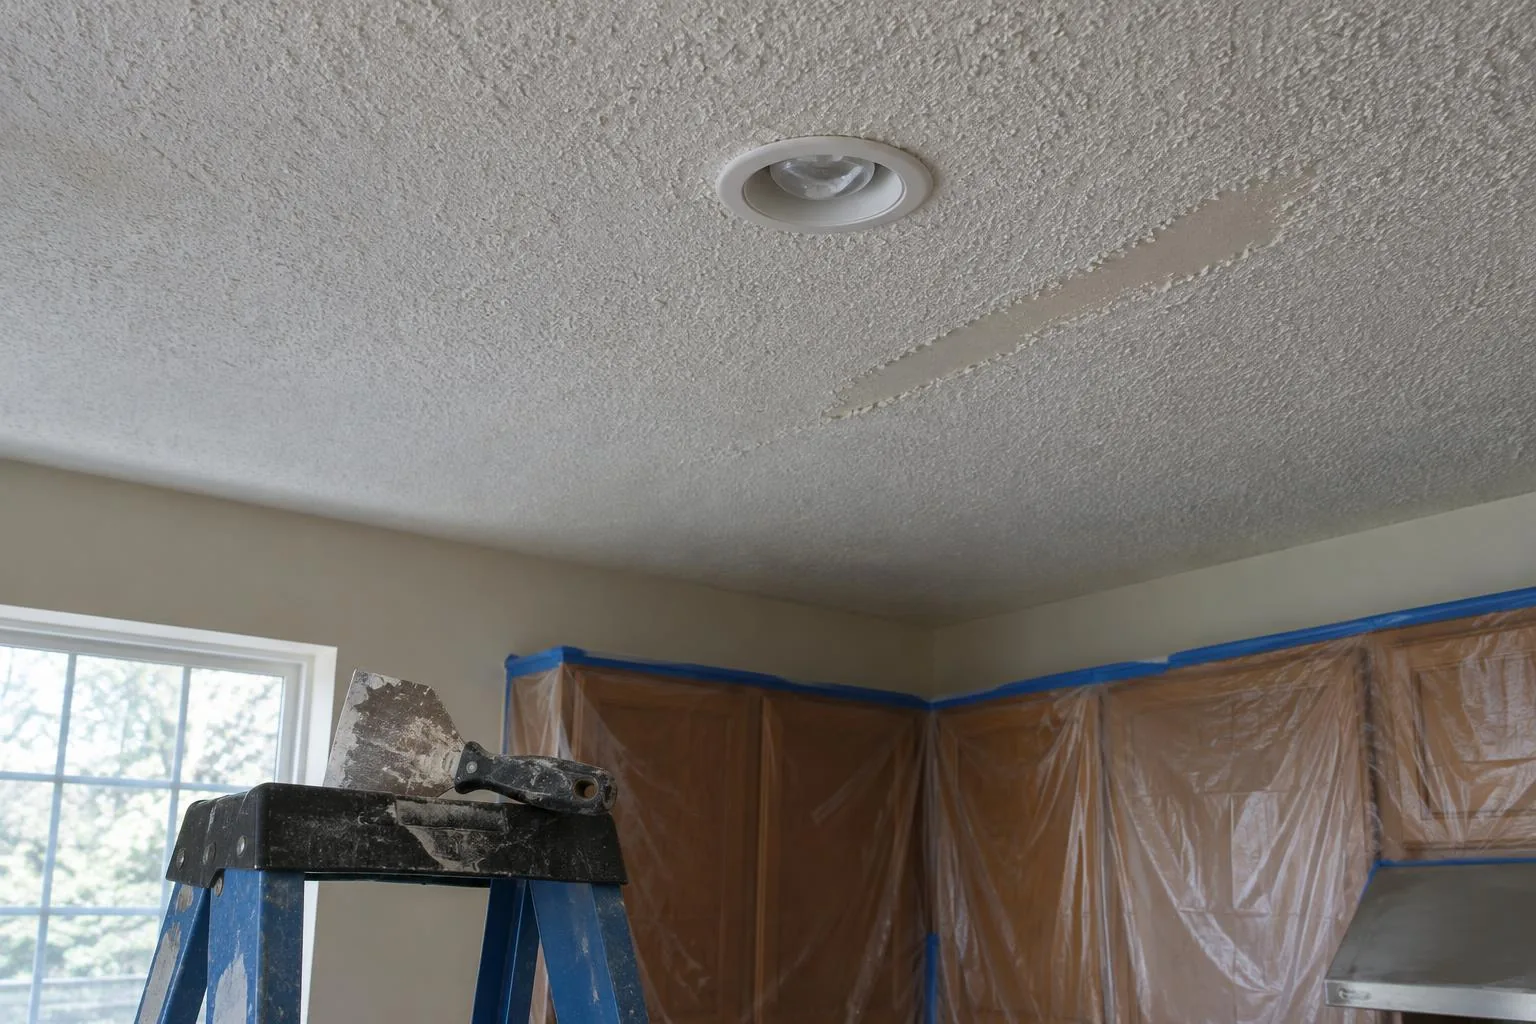
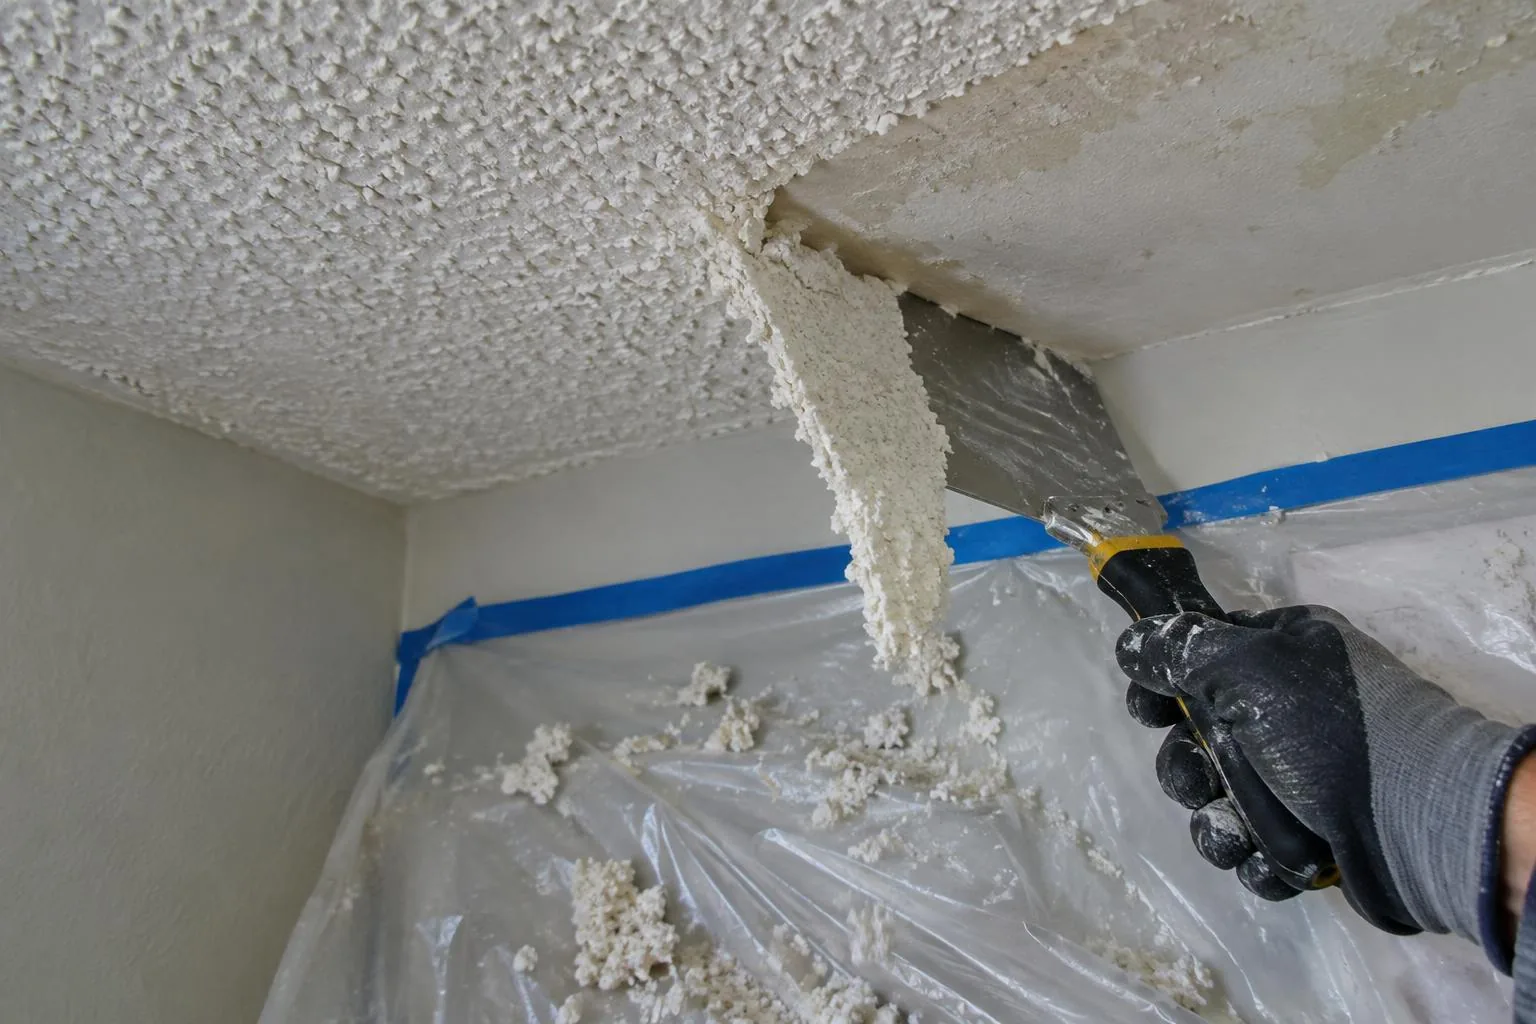
A skim coat looks simple from the floor, but the flat result depends on careful preparation, steady troweling and patient sanding between layers. It usually follows popcorn ceiling removal once the board is bare. Expect these steps on a typical Hampton ceiling:
- Surface inspection The crew rakes a light across the scraped board to find ridges, torn paper and shallow gouges before any compound is mixed.
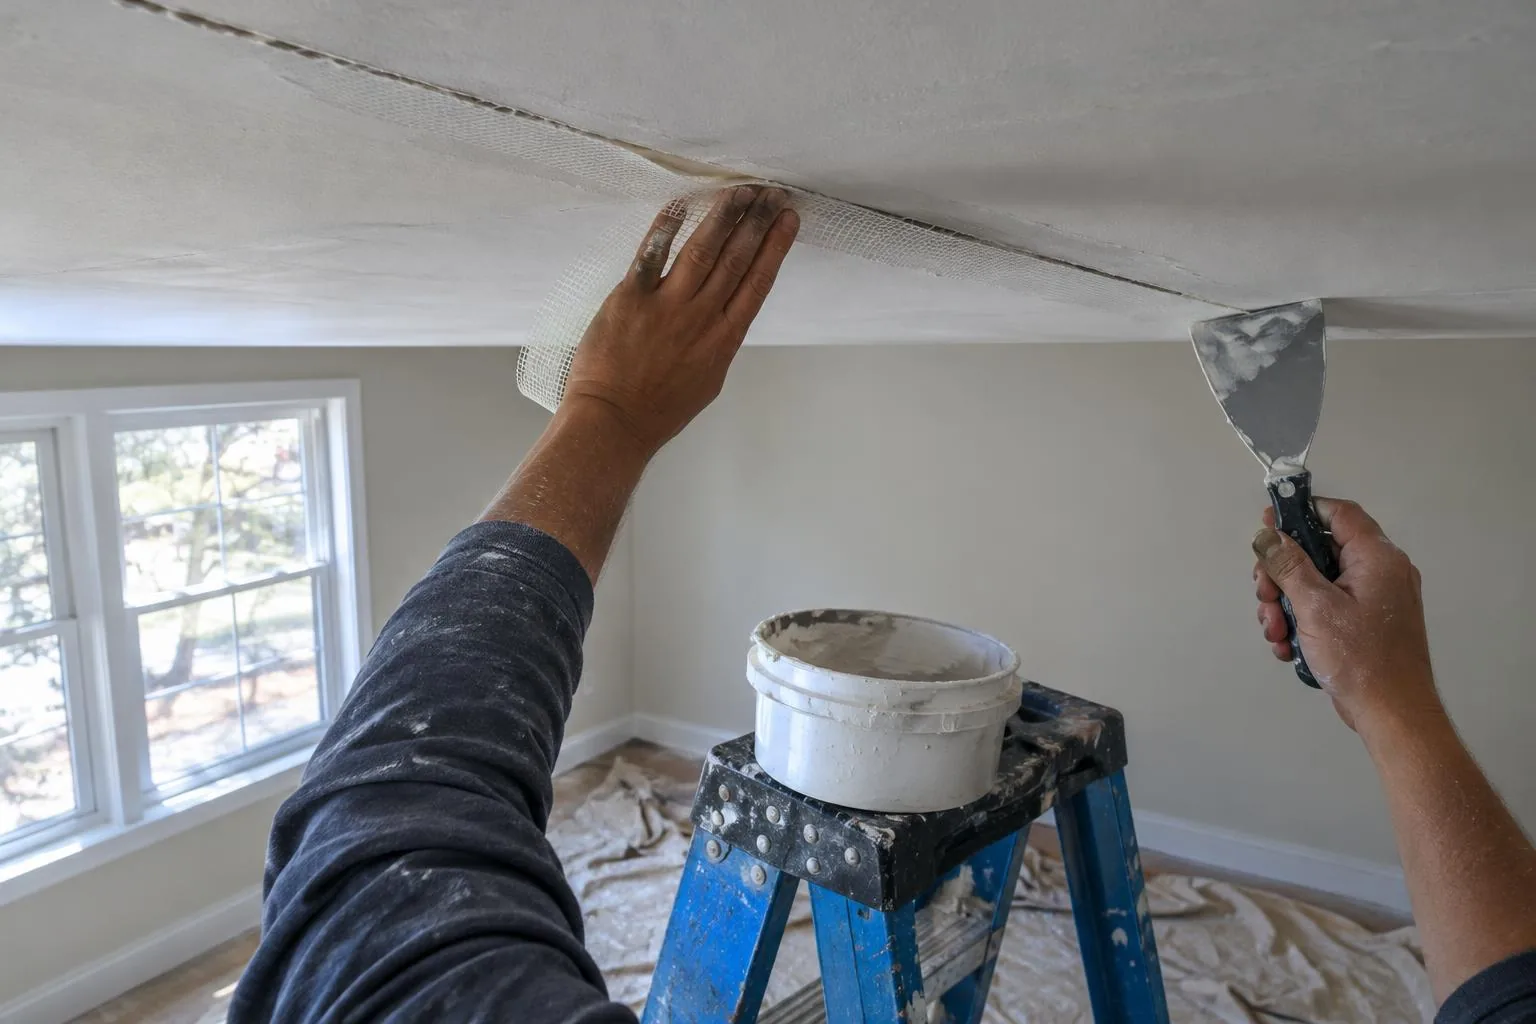
- Repairs first Open seams, loose tape and popped screws are fixed with our drywall repair work so they cannot telegraph through.
- Dust wiped away Scraping leaves a film of grit, and compound will not bond to it, so the ceiling is cleaned before the first coat.
- Primer on bare paper Exposed paper face drinks moisture, so a sealing coat goes on first to keep the compound from bubbling.
- First coat troweled on A wide blade spreads the compound in a thin, even layer that fills the low spots and hides the scars.
- Second coat as needed A second pass closes any remaining flaws, which matters most on ceilings that catch strong window light.
- Sanding between coats Each layer is sanded level with a pole sander and a dust-controlled setup, never rushed while still damp.
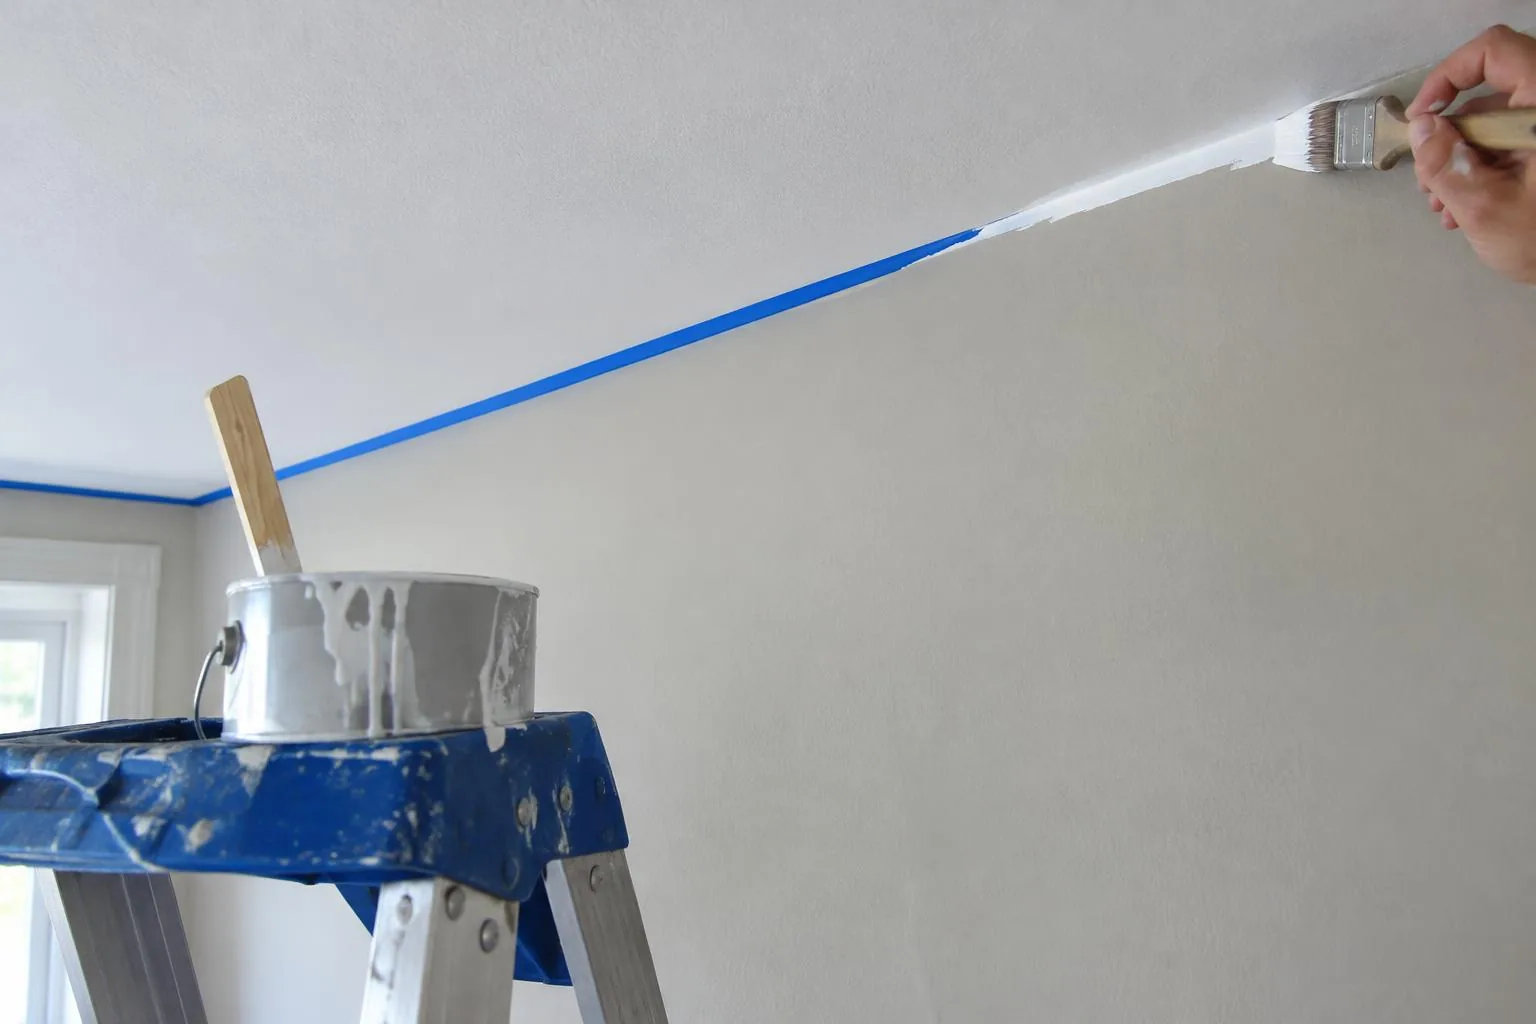
- Final prime and paint The surface receives primer and two coats of paint, finishing the smooth ceiling finish you chose. Our ceiling texture option is the alternative for owners who prefer a pattern.